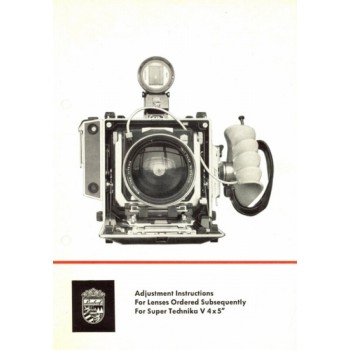
Linhof super technika lenses adjustment instructions . Available to purchase for immediate download. Below is an extract from the manual converted to text for a quick impression on the content. Linhof super technika lenses adjustment instructionsAdiustment Instructions For lenses
Ordered Subsequently For Super Technika V 4 x 5
The Super Techniko V 4x5 for the first time permits to selfadiust all additio-
nally purchased rangeflnder-coupled lenses. Following the instructions below,
exact correspondence between rangefinder and ground glass image is obtained.
1. Push the prematched coupling cam supplied with each lens fully into the
cam mount, until an audible click is noticed. Pull out lens standard, insert
lens and slide infinity stops into the rails of the upper track.
2 To guarantee exact adiustment, attach the transparent test image with
scotch tape to the inside of a vertical window. Position the camera, mount-
ed on a suitable tripod, parallel to the test image at a distance of about
15 feet (5 m) {picture 1).
It is very important to exactly center and level the camera both vertically
and horizontally. To facilitate this operation the use of a Linhof spirit level
(ZYW) is recommended. When looking straight through the rangefinder
ocular, the height adiustment of the camera should be made in such a way
that the small circle of the rangefinder image appears in the center of the
reference line A - B (picture 2).
Exact alignment of the camera in relation to the test image is essential for
the entire focusing range, it becomes most critical, however, for close
distance focusing below 6 feet.3. To evaluate critical sharpness on the ground glass, 0 good optical magni-
fier (Linhof optical magnifier, 8 x, ZYL) must be used. Before beginning the
final adiustment, the magnifier ocular should be focused critically on the
grain of the ground glass.
4. When looking through the rangefinder ocular, aim at the line A-B and
turn focusing knob until this line is perfectly focused in the range finder.
Lock the extension release to prevent an alteration of the focusing position
now obtained. Press the spring-tensioned grips slightly and move the lens
standard along the upper track, until the square pattern of the test image
appears completely sharp on the ground glass (use optical magnifier).
Cross-check by changing the focusing after releasing the locking lever.
Focus the test pattern once more on the ground glass by turning the focus-
ing knob. lf lens adiustment was correct, the rangefinder image must now
fully coincide with the reference line A - B.
ln case of any deviation, repeat the above procedure, until the required
adiustment is obtained.
5. If adiustment was performed correctly, the rangefinder must now coincide
with the ground glass over the entire focusing range. Finally, push the
infinity stops against the lens standard mount and lock in this position by
fastening the set screws.
Linhof super technika lenses adjustment instructions
- Brand: Linhof
- Product Code: 3221
- Availability: In Stock
-
$5.00
Tags: linhof, super, technika, lenses, adjustment, instructions,

