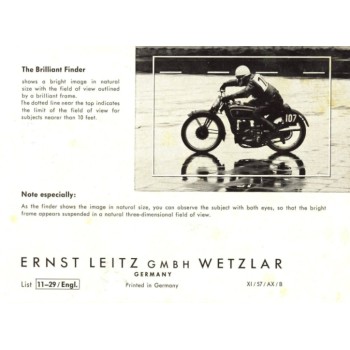
Additional instructions for Leica 1g brilliant finder. Available to purchase for immediate download. Below is an extract from the manual converted to text for a quick impression on the content. Additional instructions for leica 1g brillaint finder. The Brilliant Finder
shows a bright image in natural
size with the field of view outlined
by a brilliant frame.
The dotted line near the tap indicates
the limit of the field of view for
subiects nearer than 10 feet.1 Film transport and shutter
tensioning knob
2 Film counter disc
3 Shutter release button
4 Reversing lever (A = advance,
R = rewind)
5 Fast shutter speed dial (lso
to moon second and time ex-
posures: 7 setting for elec-
tronic flash synchronization)
6 Detachable brilliant finder
7 Depth of field scale
8 Distance scale
9 Accessory shoe with retaining
springs for rangefinder and
other accessories
10 Rewind knob
11 a and b Eyelets for carrying
strap
12 Pin at side for attaching the
base plate
13 Slow shutter speed dial (lso
to 1 second and time expo-
sures)
14 Focusing lever with infinity
catch 1
15 Aperture scale of lens
Camera back
16 Flash socket to take flash
cable
17 Film indicator 1 The Rangefinder
The accessory shoe (9) serves to take the
accessory rangefinder.
Focusing with the LEITZ
Accessory Rangefinder
1. Determine the field of view in the brilli-
ant finder.
2. Look through the eyepiece of the range-
tinder, and turn the setting wheel until the
double image fuses into one (see also
page l2 of the LEICA lllg instruction
bookl
3. Read off the distance to which the range-
finder is set, and adiust the lens focusing
to the same distance.
Additional instructions for Leica Ig brilliant finder
- Brand: Leica
- Product Code: 2845
- Availability: In Stock
-
$5.00
Tags: additional, instructions, for, leica, 1g, brilliant, finder

